
Hello there,
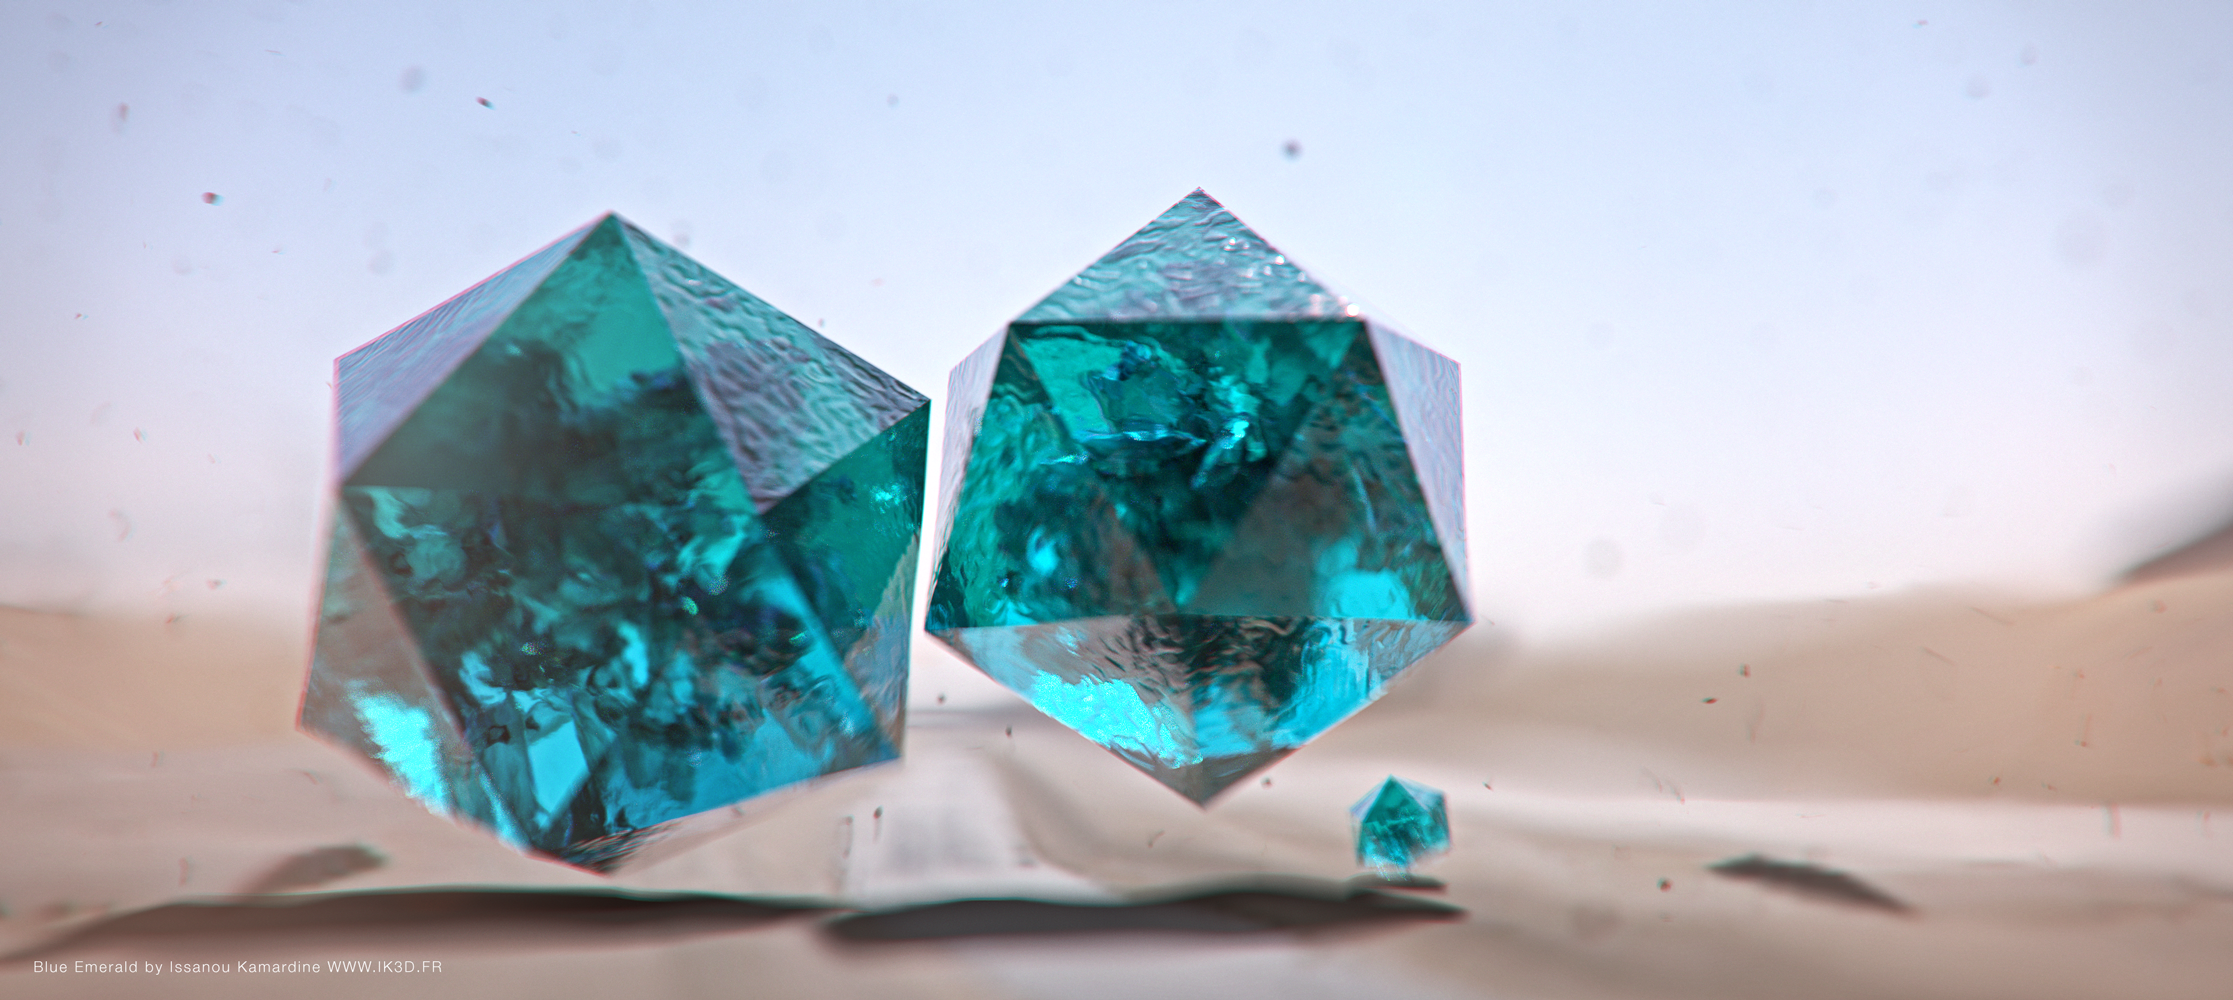
I’m still experimenting with Octane shaders in blender. Throughout my experience, I’ve learnt some tips, which I am giving you right now on how to achieve high res render (4K) in Blender using the octane plugin. I’ll also tell you what tricks were used to achieve my “Blue Emerald” look.
Rendering on Blende with Octane can be quite frustrating, as the project crashed 15 minutes after I launched the final render.
I had to spin around a long time before understanding the issue. The virtual memory was oversaturating!
Therefore, I advise you to adjust the allocated virtual memory depending on your project, I believe the buffer grows more & more over the rendering time, in my case I had to crank up my allocated virtual memory from 16 000 MB to 200 000 MB, which I do not present as a recommended solution, although it did fix the repeated crashes in my case.
Here’s my Blender scene below:
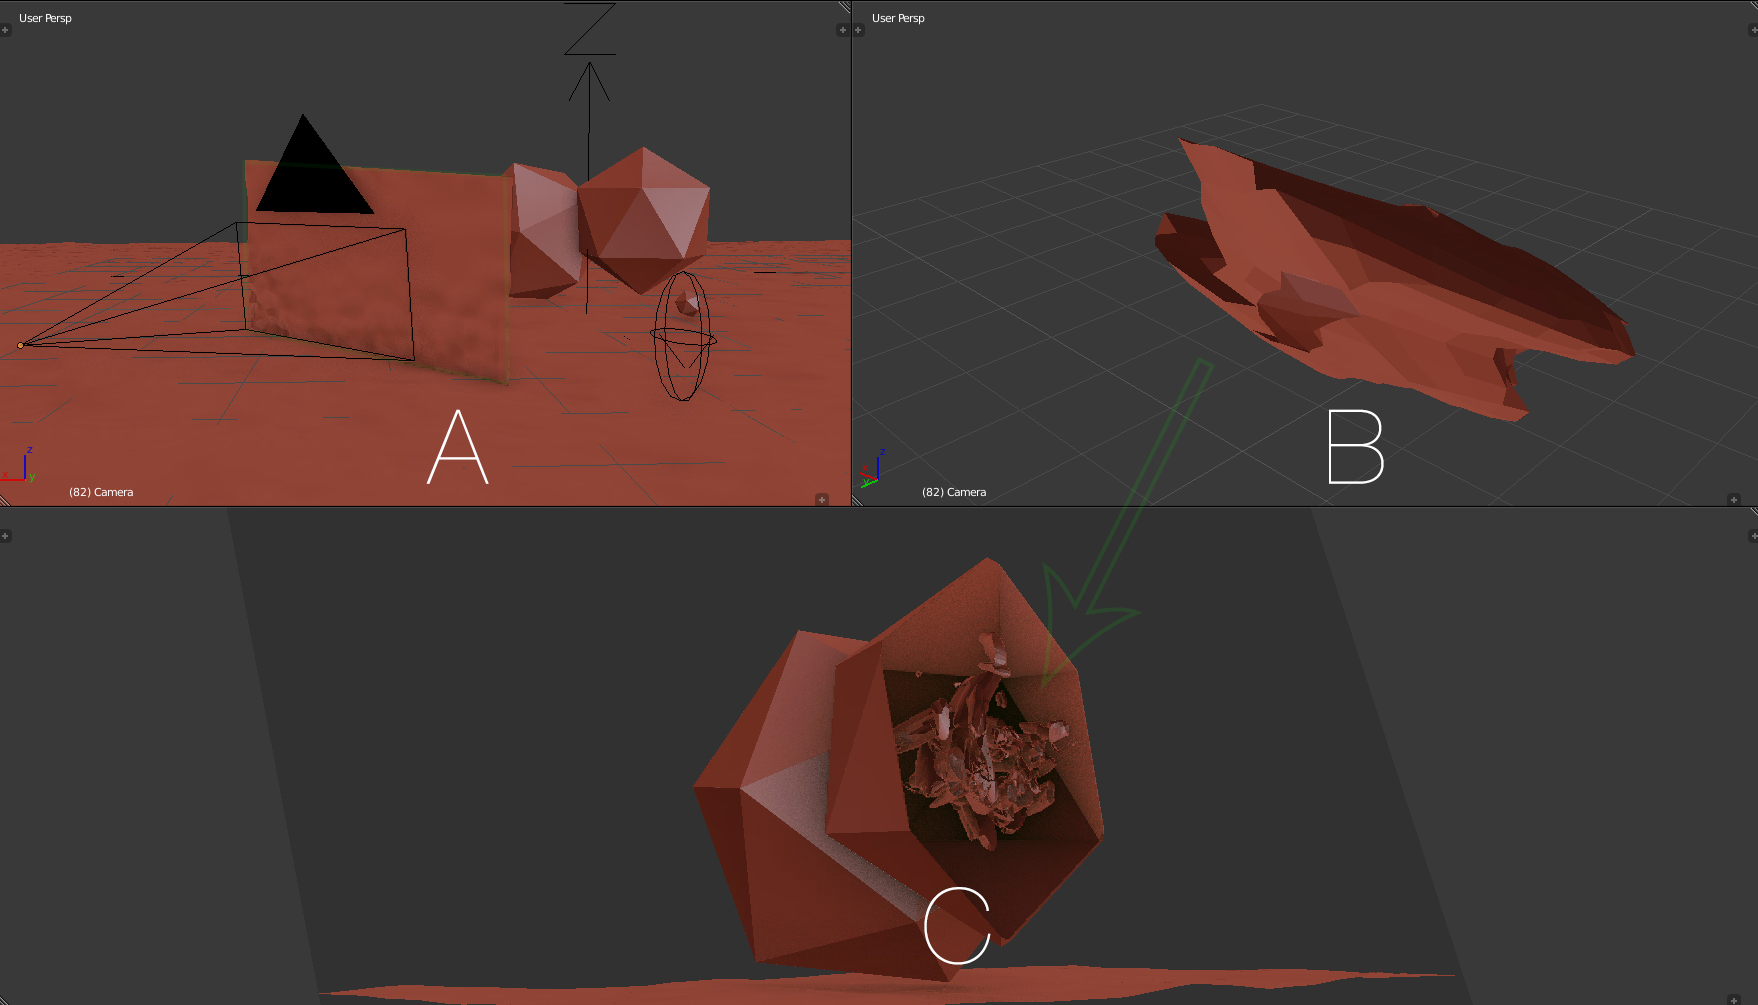
A) Make it hot:
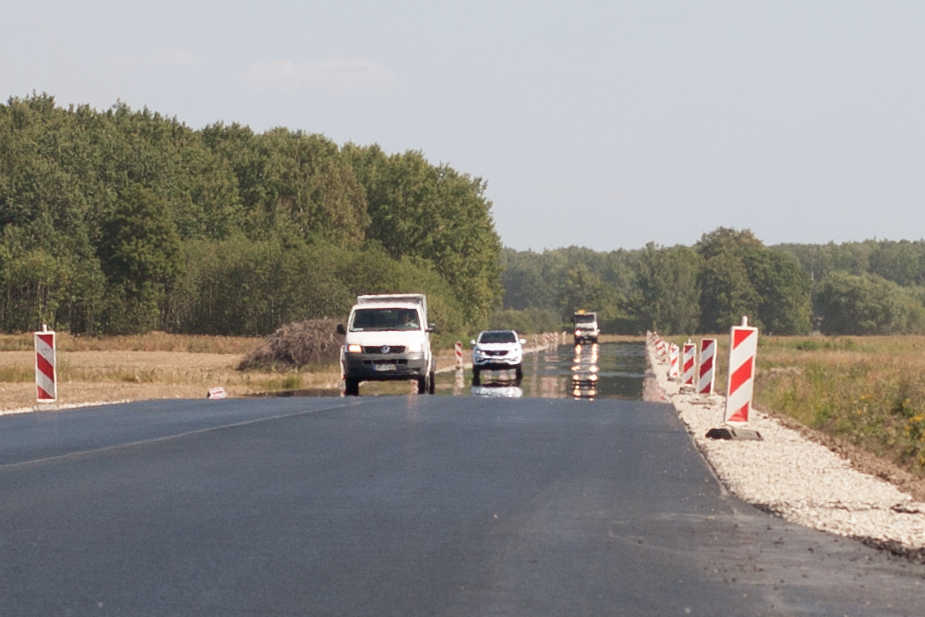
Picture By Yuri Khristich, via Wikimedia Commons
In order to make the fog due to the warmth of the environment, I placed a distorted plan between my camera and the subject.
I applied a specular shader with a touch of IOR in order to deform the view.
I also added some chromatic aberration in post in order to obtain a more convincing effect
C) Glass’ volume variations:
I used a particle system to obtain the glass’ imperfections.
B) Imperfections:
I used a simple deformed mesh and flipped its normal in order to create the bubble effect you see on the final render
.
That’s all
Thank you 🙂


