(Documentation work in progress: 2026-05-01)
Welcome to Phenix, an intuitive and powerful nodal particle system, built to maximize creativity while offering flexible control over particle simulations. Developed in Rust for high performance, Phenix is designed for efficiency.
What changed: CPU → Full GPU rewrite
Phenix has been rebuilt from the ground up. The simulation, previously running on the CPU inside a Rust thread, now runs entirely on the GPU through WGPU. Emission, integration, neighbor search, constraints, fluids, collisions and procedures are all evaluated by compute shaders; the Phenix nodes describe a graph of GPU dispatches plus a thin CPU command list.
velocity, mass, customs) are read directly from the source mesh at emission time.
Known issue on Windows: To uninstall the add-on, you first need to disable it, then restart Blender, and then uninstall it. Because of the way the OS handles dynamic libraries, it's not possible to uninstall it while it's enabled.
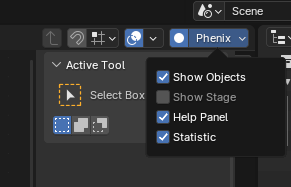
To access Phenix tools:
Show Objects
Toggle on/off to display only the objects
utilized in the simulation.
Show Stage
Enable to draw color on the node
header, indicating its execution stage.
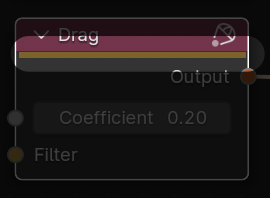
Help Panel
Toggle on/off to reveal detailed information about the node.
Statistic
Toggle on/off to view simulation statistics,
such as the number of emitters, particles, objects, etc., used in the
simulation.
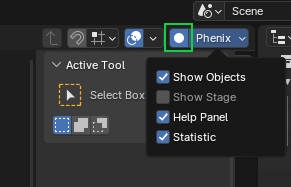
Record
Globally disable/enable the simulation.
Setting up the layout window
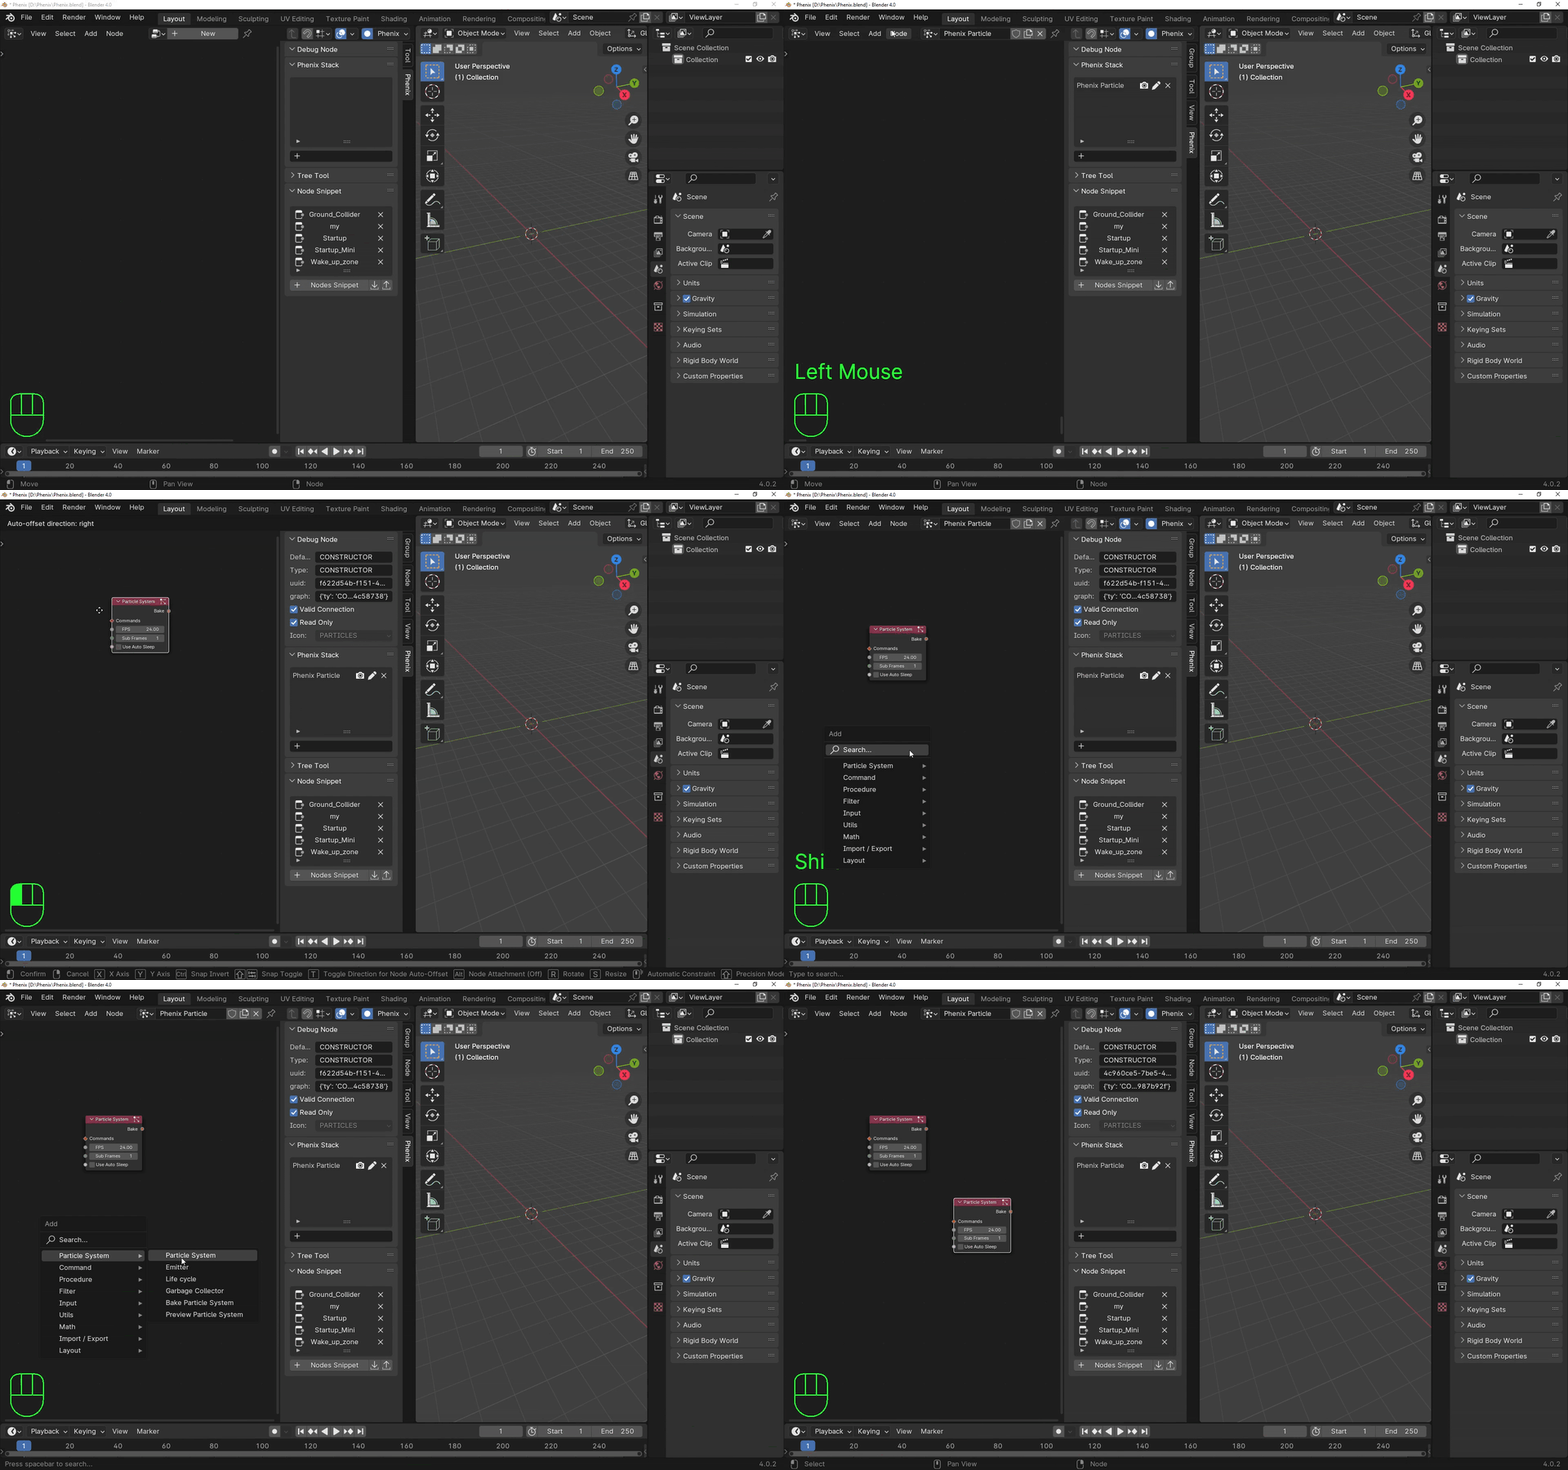
Setting up the layout window like in this way it is much easier to create particle animations.
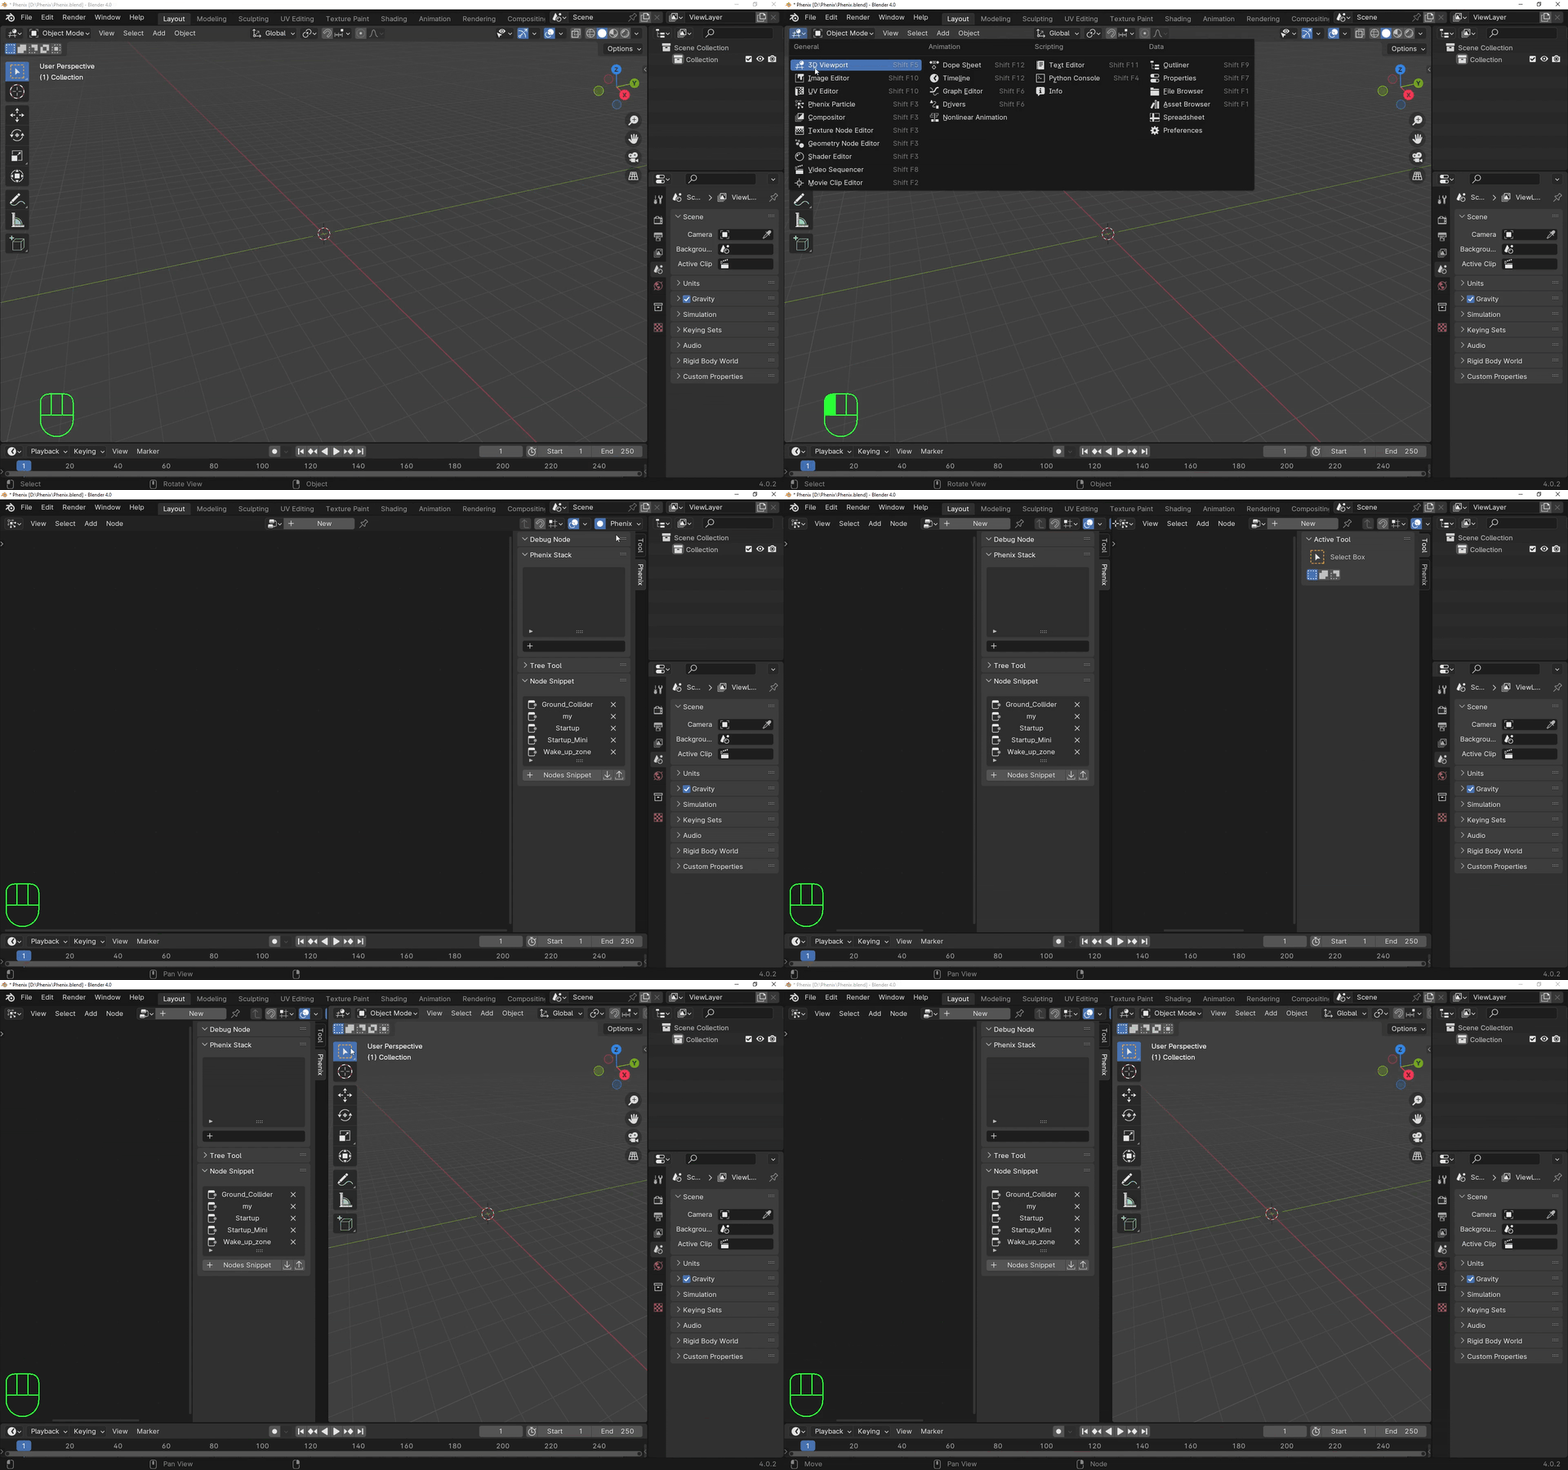
Creating a Node Tree
Creating a Node Tree and adding nodes to that Particle Node Tree exactly like in the way you do it in Shade Editor.
Exploring Phenix Stack Features
As you create Node Trees, they seamlessly integrate into the Phenix Stack, offering a centralized hub for managing your particle animations. Here's a guide to exploring and leveraging the features within the Phenix Stack
Icon Functionality
Camera Icon:
The Camera Icon offers a convenient option to manage the visibility of the selected node tree in the 3D Viewport.
Here's how you can use it:
Edit a node tree:
Selecting a node tree (clic in the name) automatically switch to the graph.
Here's a clear explanation:
Cross Icon:
The Cross Icon offers a straightforward way to remove a node tree from the stack and will therefore not be evaluated.
NOTE: Any modifications made to the Node Trees or their individual nodes take effect when you play the animation from the beginning. This ensures that you observe the real-time impact of your modification in the 3D Viewport.
Flow Control — per-modifier frame range
Each command node (force, modifier, constraint, …) carries a Frame Range property that controls the window during which the node is active. Pressing the 'F' key on the active node opens a dialog where you type the expression. Tick Apply to Selection to set the same range on every selected node at once.
Frame Range expressions:
| Expression | Behavior |
|---|---|
start-end | Active over the whole scene range (default). |
10-100 | Active between absolute frames 10 and 100. |
%5 | Active every 5 frames (modulo). |
end:-30-end | Active over the last 30 frames before scene end. |
This replaces the older flow model where 'F' was used to assign a node stage. Stages still exist as the underlying execution buckets (and are still color-coded on the node header when Show Stage is enabled), but assignment is now automatic per node category — you don't pick the stage by hand. Per-modifier frame ranges let you sequence effects on the timeline (gust of wind from frame 60 to 90, periodic emission every 5 frames, last-second damping over the final 30 frames, …) without drivers or muting.
Stages reference (read-only color coding):
| Color | Name | Description |
|---|---|---|
| CONSTRUCTOR | Evaluated once at the beginning of the simulation. | |
| CONSTRUCTOR_END | Evaluated once after Constructor. | |
| FRAME_CONSTRUCTOR | Evaluated before updating each frame. | |
| MODIFIER | Evaluated for every frame after Frame Constructor. | |
| FRAME_END | Evaluated for every frame after Modifier. | |
| FINISHED | Evaluated once at the end of the simulation. |
NOTE: Stage assignment is automatic per node category. The colored header is informational only; pressing 'F' edits the node's Frame Range, not its stage.
Exploring Node Snippet Features
Node Snippet in Phenix Particle is a powerful tool designed to simplify your particle animation workflow. It functions like a preset, offering numerous features to enhance your creative process.
Here's how you can leverage the capabilities of Node Snippet:
Preset Node Groups:
Node Snippet contains various pre-arranged groups of nodes, serving as presets. Choose the node group that aligns with your project requirements to kickstart your animation effortlessly.
Create Custom Node Snippet:
Tailor Node Snippet to your needs by selecting specific nodes and creating custom groups. This feature allows you to efficiently organize and reuse node setups in future projects.
Export and Share:
Share your creative setups by exporting Node Snippet. This enables collaboration and allows others to benefit from your unique configurations. We chose the .json format to export the Node Snippet because it is widely used for storing and exchanging structured data. It's easy to share, for example by email, takes up little space, and is human-readable.
Import Node Snippet:
Likewise, enrich your library by importing Node Snippet shared by others. Expand your toolkit and experiment with diverse node configurations.
Delete Unwanted Snippets:
Maintain a clutter-free workspace by deleting Node Snippets that are no longer needed. This ensures a streamlined and organized Node Snippet library.
Node Snippet is your go-to resource for accelerating your particle animation projects, offering flexibility, collaboration possibilities, and efficient management of your creative assets in Phenix Particle.
Baking the Particle Animation
Before initiating the particle animation baking process in Phenix, ensure you
follow these steps for a smooth experience:
Save Your Blend File:
Begin by saving your Blender project file to secure your progress.
Un-Mute the Bake Particle System Node:
If the Bake Particle System Node is muted (if it is, the node will be greyed out), unmute it by pressing the 'M' key on your keyboard. This ensures the system is ready for baking.
Set Path in Bake Particle System Node:
Access the Bake Particle System Node and set the desired path for the animation bake. This defines where the baked data will be stored.
Initiate Baking:
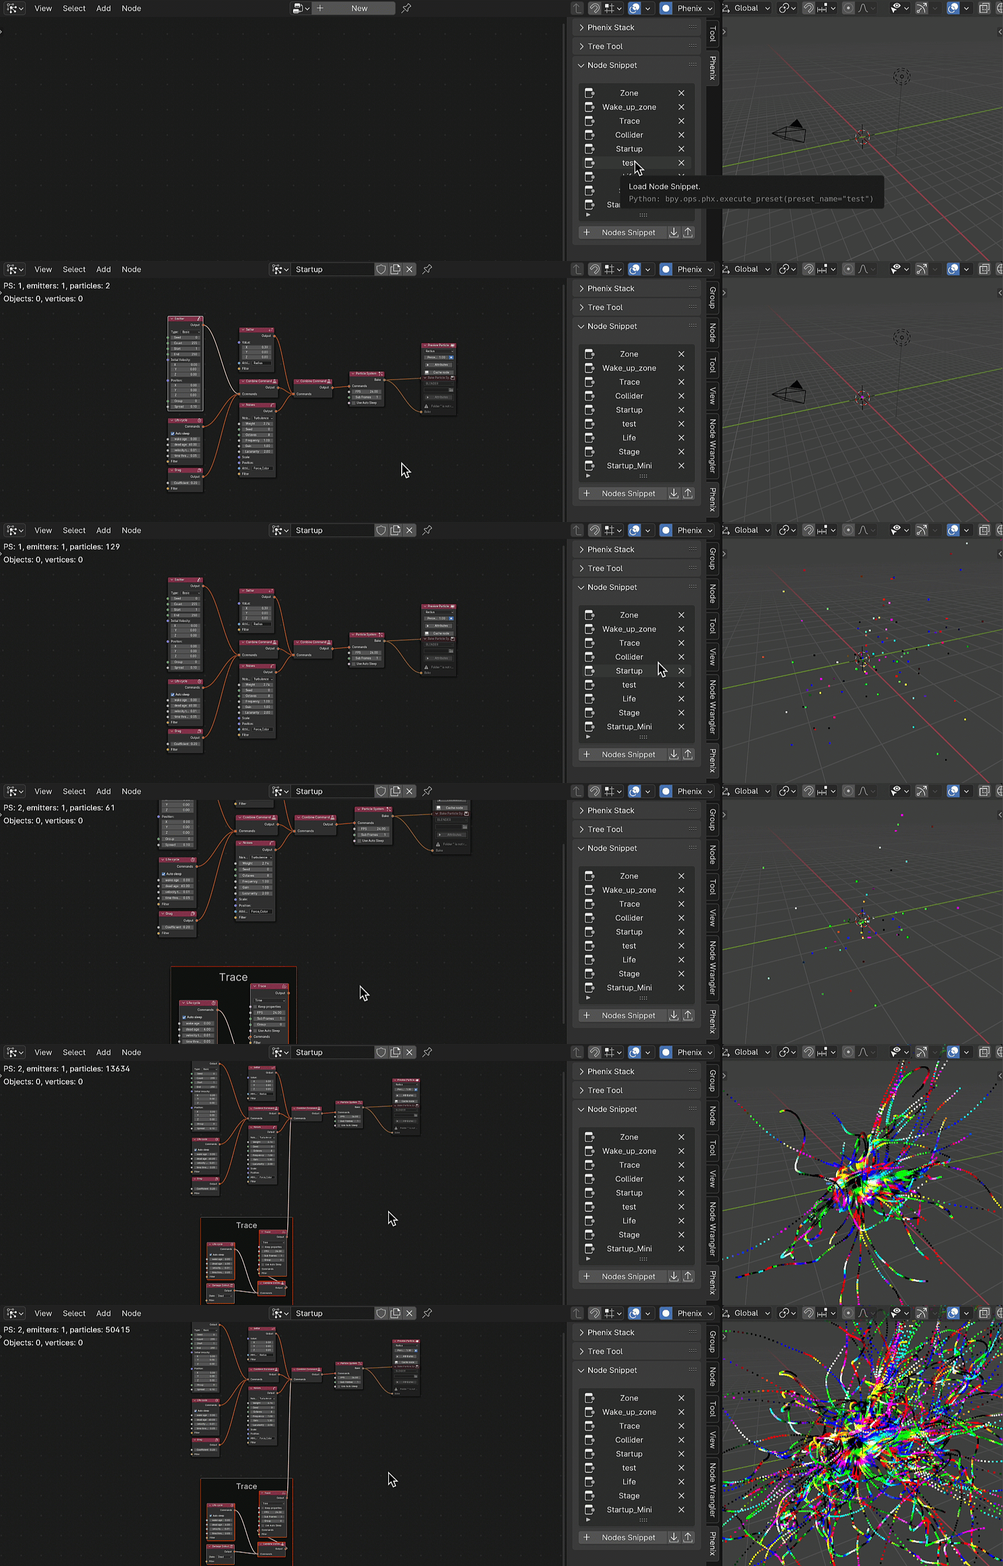
To commence the baking process, add a "Bake Particle System" node and toggle the "attributes" button to select the properties to send to the geometry node. You then have the option to bake by clicking the "Bake" button on the node, or to bake the entire stack using the operator under the Stack panel.
Final setting for Rendering the Animation
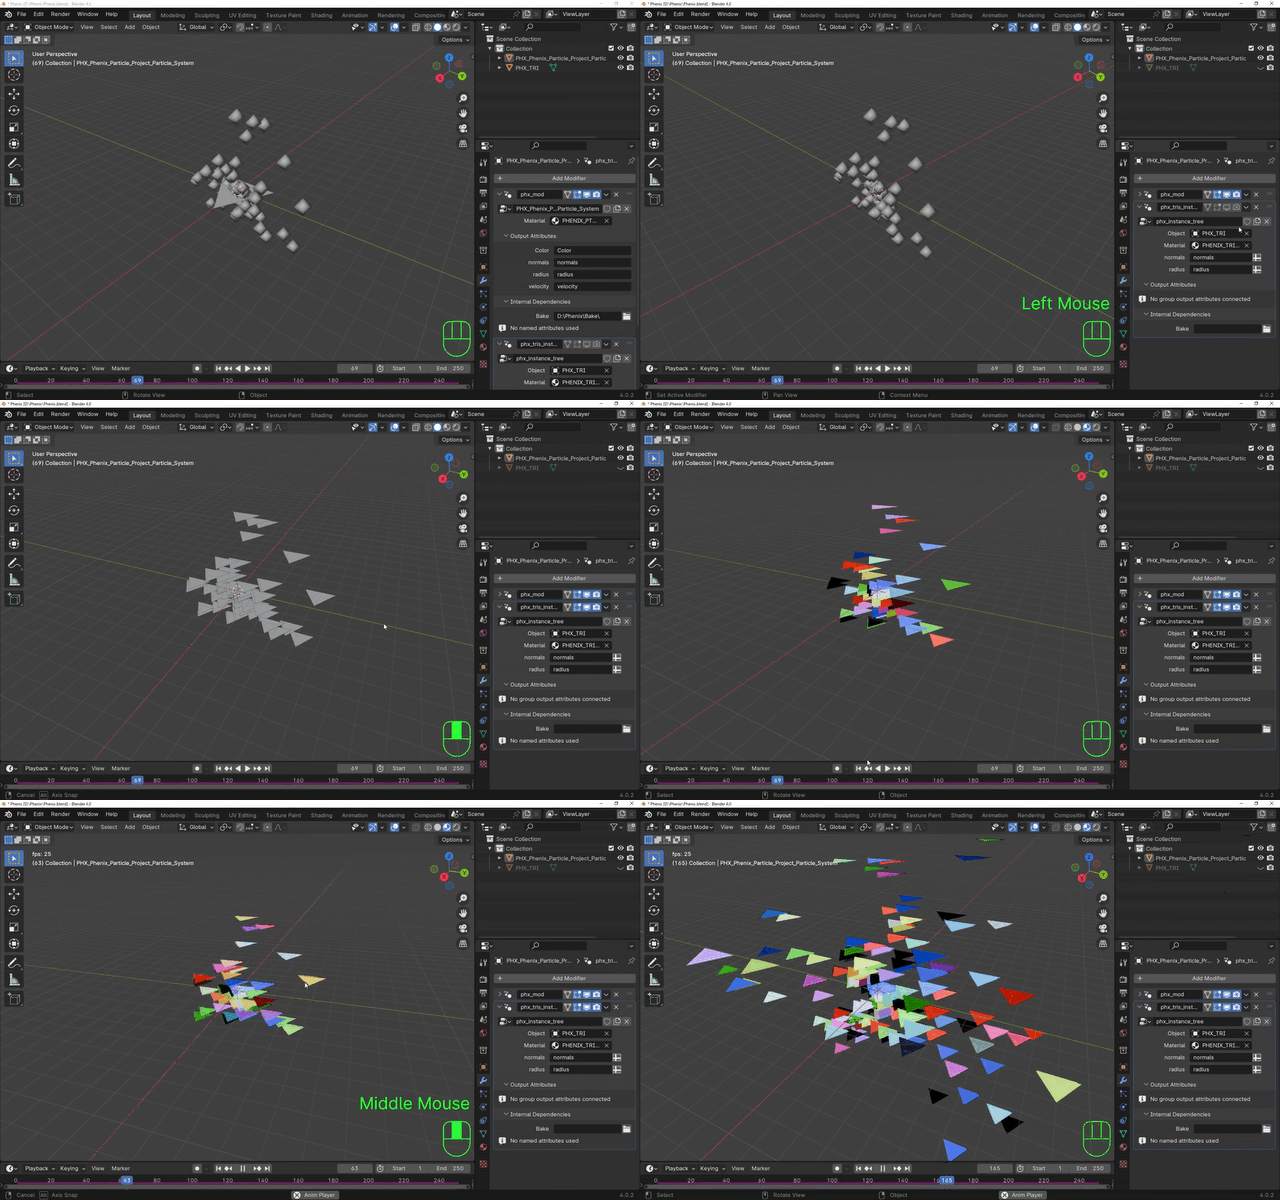
As you approach the final stages in Phenix, prepare for rendering by making a small adjustment in the modifier. as illustrated in the GIF
Here's the reasons you need to do this manually at the end:
Render Optimization in Cycles:
Phenix Particle is optimized for rendering billion-point clouds in the Cycles render engine. Leverage this efficiency when working with extensive particle setups.
Eevee Considerations:
Note that the optimized cycle setting may not be supported in Eevee. In such cases, instances or alternative models can be used to achieve performance with reduced computational demands.
Instance Replacement:
Consider replacing mesh instances with lightweight models, such as a fly model for intricate patterns or a bird for boid FX simulations. This helps balance performance and visual impact.
Integrating Rotation Nodes:
Introduce rotation nodes within the particle graph and bake rotation attributes for instances. This enhances control over the orientation of the instances, crucial for achieving specific visual effects.
By understanding these considerations and manually adjusting settings as
needed, you tailor Phenix Particle Animation to meet the specific demands of
your particle animation, rendering efficiently across different scenarios and
rendering engines.
Error & Warning Overlay
Phenix surfaces simulation errors and warnings directly in the 3D Viewport as a stacked overlay. Red entries are runtime errors coming from the GPU backend, orange entries are warnings (out-of-range socket values, invalid enum, deprecated node). Repeated messages are deduplicated and tagged with an occurrence count, and the overlay auto-clears 30 seconds after the last incident. Socket-level warnings clear automatically as soon as the offending value is fixed and are re-emitted whenever the simulation restarts so you never lose track of them.
Input Limits
Every numeric, string and boolean socket in Phenix declares a min / max range (and where applicable, an enum or regex). Values typed in the UI are clamped to this range with a console message, so no invalid value can reach the GPU. This removes a whole class of NaN / instability bugs caused by user-side typos. Soft ranges (slider bounds) are exposed for fine control, while hard min / max guard the simulation.
Particle Properties (Ptc Props)
Initial particle properties (Mass, Radius, Color RGBA, Temperature, Viscosity, Fuel, Group / child group) are configured on a single Particle Properties node, then shared with every spawner through the Ptc Props input socket. The same Particle Properties node can drive a Particle Emitter, a Spawner Primitive and an Event Spawner simultaneously, ensuring that all particles of a given system share the same initial state.
This replaces the inline Group / Color fields that used to live on the Particle Emitter. The Particle Properties subgraph is now merged into the spawner graph at runtime (previously it was dropped silently).
Filtering workflow
Filtering particles used to be done with a single monolithic Filter node that mixed attribute comparison, spatial selection and logical composition. The workflow is now decomposed into three orthogonal building blocks, each visible in the graph:
==, !=, <, >, <=, >=, % == 0, Sin).MUL (AND), OR, SUB, ADD. Falloffs are blended through multiplication, max, clamped subtract or clamped sum.Worked example: filter particles whose temperature is above 50 AND that are inside a Zone, then plug that combined filter into a Drag node to slow only the hot particles inside the zone.
Note: the original
Filter and Filter Operation nodes are deprecated.
They are flagged as such in the Add Node menu and will be removed in a later
release.
Custom Shader
The Custom Shader node lets advanced users write their own
WGSL compute kernel and have it compiled live. Five built-in templates ship
with the addon — Force, Impulse, Direct,
Sample-Image, Mesh-Vertex — loaded from the Rust
backend through the Load Template button. The kernel can be opened in
Blender's Text Editor (Edit in Text Editor) and Phenix maps any
compile error back to the line inside your user_compute()
function.
Dynamic + / - sockets let you bind up to four images,
four audio inputs, four objects and eight animatable parameters. The output
type selector picks how the kernel result is fed back into the simulation:
Force, Impulse, Direct (overwrite a channel), or
Position. A neighbor-access toggle exposes the spatial neighborhood
to the kernel.
GPU Profilers
Three viewer nodes give live insight into the GPU simulation:
Constraint material presets
The Constraint Advanced node ships with a curated list of material presets — Silk, Cotton, Denim, Leather, Rubber, Hair, Chain, Jelly, Metal Wire — that pre-fill stiffness, damping, tension, exponent and per-link randomization with values calibrated against the new Hooke solver. Plug the Constraint Advanced node into the Settings input of a base Constraint to apply the preset; the values are then baked into the Constraint sockets so they survive unplugging.
Phenix can talk to AI assistants. Once you switch the integration on, an assistant like Claude — or any MCP-compatible tool, including your own scripts — can read your node graph and the live simulation state, explain what each node does, suggest setups, build a starter graph for a given effect, or debug your simulation. You describe what you want from your usual chat window; the assistant does the inspection and editing inside Blender for you, and you watch the result update in your viewport.
What it unlocks for you
How to enable it
7788. Change it if it clashes with another
local service.127.0.0.1:7788. Most
MCP-compatible tools will discover the available actions
automatically.Privacy and safety
127.0.0.1 only — never
reachable from another machine, never sent to the cloud by Phenix
itself.
Full technical reference (every available action, request/response schema,
Python connection example) is in
phenix_particle_sys_addon/MCP_README.md.
Phenix features distinct categories of nodes, acting as the building blocks where creativity comes to life in animations. These categories are like specialized tool sets, each unlocking unique capabilities for shaping and refining your creation of animation. Let's take a closer look at these categories, breaking down the technical aspects into easily understandable terms.
User-facing changes since the last published documentation (2024-09-17).
start-end, 10-100, %5, end:-30-end) instead of the old stage assignment.-999.0 marker from two shaders (critical correctness fix).